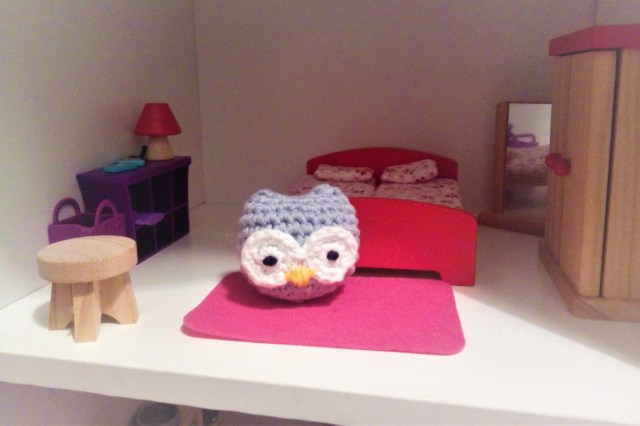
This article is for the wonderful participants in my ‘Crochet Cuteness’ class at a previous Zero Waste Festival in Dublin, and anyone else who wants to have a go at making their own amigurumi toys. Here’s the little fella I made in his new home, my daughter’s doll house.
Nothing mentioned in this article has been sponsored. It’s all just my own personal opinion. If you like your sources to remain independent then please;
share this article, or
buy me a coffee on Ko-fi, or
make a one-time donation via Paypal
I chose a simple but cute pattern for an Baby Owl Toy from Josephine Wu, which I edited to make it easier for beginners to read and to create a more sustainable toy. I chose this pattern because firstly, who doesn’t love owl? and secondly, having trialed a few patterns this was the quickest to make. All in all in took me 30mins to crochet the body and another 15 to sow on the eyes and beak. Below is my interpretation of Josephine’s pattern along with a link to the simplest tutorial for making a magic circle that I’ve found. As the original pattern is American I’ve stayed with American terminology, i.e calling the stitch ‘single crochet’ as they do in the US rather than using the term ‘double crochet’ for the same type of stitch, which we tend to do in Ireland and England.
To Make the Body / Head
- Round 1: Form a Magic Circle with a base of 6 stitches.
- Round 2: 2 Single crochet into each stitch. You should end up with 12 stitches in total.
- Round 3: (2 single crochets into the next stitch, single crochet into the next stitch) repeat this pattern 6 times. You should end up with 18 stitches in total.
- Round 4: (2 single crochets into the next stitch, single crochet into the next 2 stitches) repeat this pattern 6 times. You should end up with 24 stitches in total.
- Round 5: (2 single crochets into the next stitch, single crochet into the next 3 stitches) repeat this pattern 6 times. You should end up with 30 stitches in total.
- Round 6: Single crochet into the next 30 stitches. You should end up with 30 stitches in total.
- Round 7: (Single crochet 2 stitches together, single crochet into the next 3 stitches) repeat this pattern 6 times. You should end up with 24 stitches in total.
- Round 8: Single crochet into the next 24 stitches. You should end up with 24 stitches in total.
- Round 9: Single crochet into the next 24 stitches. You should end up with 24 stitches in total.
- Round 10: Single crochet into the next 24 stitches. You should end up with 24 stitches in total.
- Round 11: (Single crochet 2 stitches together, single crochet into the next 2 stitches) repeat this pattern 6 times. You should end up with 18 stitches in total.
- Round 12: (Single crochet 2 stitches together, single crochet into the next stitches) repeat this pattern 6 times. You should end up with 12 stitches in total.
- Fasten off and leave an 8” tail for sewing.
To Make the Eyes (Make two)
- Round 1: Form a Magic Circle with a base of 6 stitches like above.
- Round 2: 2 Single crochet into each stitch. You should end up with 12 stitches in total.
- Finish the round by making a slip stitch into next stitch.
- Fasten off leaving a long tail.
To Assemble
- Stuff with polyester filling from old (washed) pillows.
- Pinch the top of the owl flat and use yarn tail to sew shut. This should create a slightly curved shape. Sow the yarn through the body, exiting at the rear, pull yarn taught and cut. It will disappear into the filling inside.
- Trim the yarn tail coming from the centre of the eye so that it won’t poke up from behind when fixed to the body. Using the photo above as a guide position the whites of the eyes (made above) low down on the owl, making sure there is no gap between them.
- To make a pupil for the eye create a knot in the centre of a length (12-15cm) of black yarn. I just create knots on top of the each other to increase the size of the pupil. Thread the loose ends of the yarn, both of them, into a darning needle. Pierce the centre of the white eye with the darning needle exiting out the back of the body. Pull tight, tie a knot, snip the yarn close to the knot being careful not to cut the body, release and the knot should disappear inside the body. Repeat for the second eye. Here’s a video tutorial on how to make knotted eyes with a clever trick for making the pupil the size you need.
- Using yellow yarn or embroidery thread embroider a beak as show on the above photo.
So if you want to learn a new skill over the Christmas break pick yourself up some aran or worsted weight cotton and a 4.00mm crochet hook and find a comfy armchair for an hour. I like to buy second hand yarn in charity shops when I can, next I buy winter weight organic cotton in Sostrene Green but they don’t always have it so the other alternative is is aran or worster weight cotton by Drops. Needle wise I’d start by checking your local charity shop and if you strike out there getting a good quality metal one like those from Addi. This is a brand that’s readily available in Ireland.
And if you’re on a roll and enthused enough to keep going with your new skill here are two other patterns for another slightly bigger Owl Toy and a Dumpling Cat to try.
Both of these links are to patterns on the most amazing knitting website called Ravelry.com You’ll have to register to get access but don’t worry, you don’t get bombarded with emails. It’s like the Pinterest of the knitting world, but even better, with free patterns!!!!!! You’ll also find patterns for amigurumi toys on amigurumi.today
When choosing a pattern remember there is a difference between American crochet terminology and that use in Europe. As I’ve started with an American one it might be better to stay with that for now.
E
